![[B] Bentley Publishers](http://assets1.bentleypublishers.com/images/bentley-logos/bp-banner-234x60-bookblue.jpg)
CAMSHAFT TIMING CHAIN 117-16
|
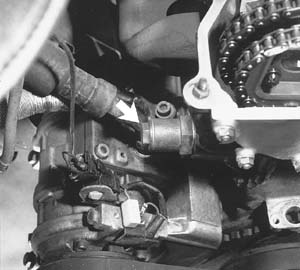
10. Using a spanner tool, rotate exhaust sprocket until stop on intake sprocket is contacted. See Fig. 36. Then slide control unit off front of cylinder head.
VANOS control unit, installing
1. Lock the camshafts and the crankshaft in TDC position with BMW special tools as described above in removal procedure.
NOTE - 2. Remove primary timing chain tensioner from side of cylinder head. See Fig. 37. 3. Install BMW special tool no. 11 3 390 into primary timing chain tensioner sleeve. Thread tool in finger tight to remove chain slack. |
NOTE - 4. Hand turn secondary sprockets clockwise (as viewed from front of engine) until sprockets contact stops. 5. Apply a small amount of liquid gasket sealer (3-Bond 1209® or equivalent) to VANOS housing alignment dowels on front of cylinder head. Install a new gasket. 6. Push VANOS piston gear cup into VANOS housing until it bottoms out in housing. Position VANOS control unit into place, but do not engage splines on gear cup. 7. Slide VANOS control unit into place, but do not engage splines on gear cup. Using a spanner tool (See Fig. 36.), turn exhaust sprocket counterclockwise (as viewed from front of engine)only enough to mesh gear cup splines with camshaft gear. Slowly push VANOS control unit towards camshaft. 8. Continue to slide VANOS unit in until it is fully seated, guiding chains in counterclockwise direction (as viewed from front of engine). Install and tighten control unit nuts and bolt.
|
||||||
| VANOS (VARIABLE VALVE TIMING) | |||||||
|
|